ITalc (classroom management) setup
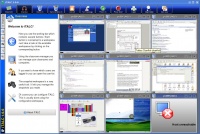
iTalc is an awesome program for managing a classroom full of computers. It allows you to do a number of things, including:
- View what every machine in the room is doing
- Lock every machine in the room out
- Take control of a student machine
- Send a text to an individual machine
- Much, much more
The program runs on Windows or Linux, although you can also use the management program on MacOS X using Boot Camp or virtualization technology such as VirtualBox.
Contents
Setup
A word about device IP addresses
In order for an application like iTalc to work, the master application on the management workstation must be able to identify and connect to individual devices in a reliable and consistent fashion. iTalc uses a device's Internet Protocol (IP) address or Hostname in a Dynamic DNS environment to make that connection. We recommend the use of Hostnames and Dynamic DNS if at all possible, however if you like a lot of work, you can set Static IP addresses on each individual device, to ensure that the device's IP address never changes. If you aren't sure about these details, ask for help from your network administrator before attempting to deploy iTalc.
Setting up the ubermix devices to be managed
Device setup is fairly straightforward. Simply install italc-client from the Ubuntu Software Center or Synaptic Package Manager on your device. If you choose to install the default simple updates already on the ubermix install key, italc-client will already be a part of the installation.
Setting up the Management Workstation
To setup a management workstation on Windows, go to the iTalc site and download a copy of the installer. If you are using Ubuntu or ubermix on your management workstation, use Ubuntu Software Center or Synaptic Package Manager to install italc-master. If you are using another version of Linux for your master, check the repositories for your distribution first to see if they already have iTalc master available and install it in the normal fashion. Regardless of platform, run the setup program and accept all of the defaults.
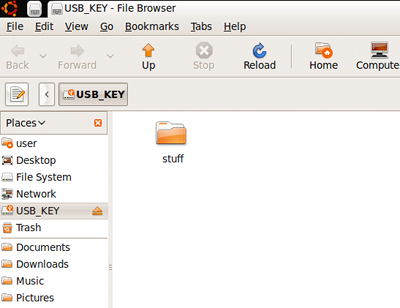
Once this is complete, you will need to get the authentication keys from one of the devices you intend to manage onto the management workstation so that the two can communicate. To do this, insert a spare usb key into one of the ubermix devices you intend to manage and wait for it to mount. You should see a window similar to the one below:
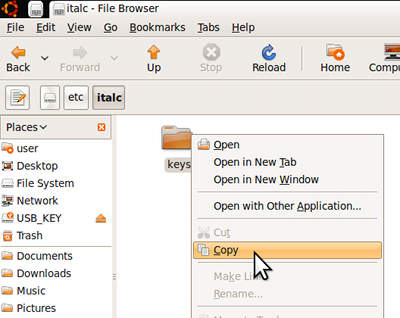
Click on "File System" and open the "etc" folder, followed by the "italc" folder. Then, right-click on the "keys" folder, and select "Copy"
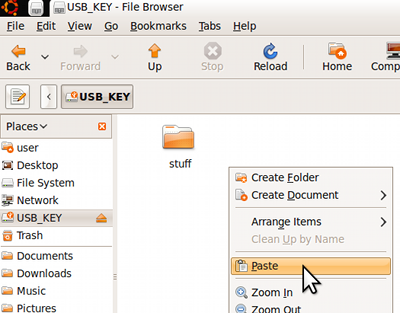
Next, click on back to your usb key ("USB_KEY" in our example - yours will probably be named something different). Then right-click in any blank space in the window and choose "Paste" to copy the files.
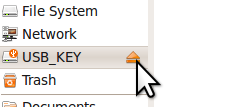
Finally, eject the key by clicking the little eject icon in the sidebar
Copy the keys folder to the appropriate location on your management workstation using the appropriate steps for your platform (should be similar to above.) For Windows, the keys folder needs to be placed inside C:/Program Files/iTALC. If your management workstation is running ubermix or some other Linux, the keys must be placed in /etc/italc
Using iTalc
Coming soon - stay tuned!
